# Command-line
Installing IPFS through the command-line is handy if you plan on building applications and services on top of an IPFS node. This method is also useful if you're setting up a node without a user interface, usually the case with remote servers or virtual machines. Using IPFS through the command-line allows you to do everything that IPFS Desktop can do, but at a more granular level since you can specify which commands to run.
# System requirements
IPFS requires 512MiB of memory and can run an IPFS node on a Raspberry Pi. However, how much disk space your IPFS installation takes up depends on how much data you're sharing. A base installation takes up about 12MB of disk space. One can enable automatic garbage collection via --enable-gc and adjust the default maximum disk storage (opens new window) for data retrieved from other peers.
# Official distributions
The IPFS team manages the dist.ipfs.io website (opens new window) to help users quickly find the latest version of every IPFS package. As soon as a new release of an IPFS package comes out, it is automatically shown on dist.ipfs.io, so you can be sure you're getting the latest software. These steps detail how to download and install the latest go-ipfs from dist.ipfs.io using the command-line.
| Windows | macOS | Linux |
|---|---|---|
 |  |  |
# Windows
Download the Windows binary from
dist.ipfs.io(opens new window).cd ~\ wget https://dist.ipfs.io/go-ipfs/v0.12.2/go-ipfs_v0.12.2_windows-amd64.zip -Outfile go-ipfs_v0.12.2.zipUnzip the file and move it somewhere handy.
Expand-Archive -Path go-ipfs_v0.12.2.zip -DestinationPath ~\Apps\go-ipfs_v0.12.2Move into the
go-ipfs_v0.12.2folder and check that theipfs.exeworks:cd ~\Apps\go-ipfs_v0.12.2\go-ipfs .\ipfs.exe --version > ipfs version 0.12.0While you can use IPFS right now, it's better to add
ipfs.exeto yourPATHby using the following steps.Save the current working directory into a temporary variable:
$GO_IPFS_LOCATION = pwdCreate a powershell profile:
if (!(Test-Path -Path $PROFILE)) { New-Item -ItemType File -Path $PROFILE -Force }This command first checks to see if you have a profile set. If you do, it leaves it there and doesn't create a new one. You can view the contents of your profile by opening it in Notepad:
notepad $PROFILEAdd the location of your Go-IPFS daemon and add it to PowerShell's
PATHby truncating it to the end of your PowerShell profile:Add-Content $PROFILE "`n[System.Environment]::SetEnvironmentVariable('PATH',`$Env:PATH+';;$GO_IPFS_LOCATION')"Load your
$PROFILE:& $profileTest that your IPFS path is set correctly by going to your home folder and asking IPFS for the version:
cd ~
ipfs --version

> ipfs version 0.12.0
# macOS
M1-based Macs
You can install IPFS on M1-based Macs by using the darwin-arm64 binary instead of the amd64 binary listed in these instructions.
Download the macOS binary from
dist.ipfs.io(opens new window).curl -O https://dist.ipfs.io/go-ipfs/v0.12.2/go-ipfs_v0.12.2_darwin-amd64.tar.gzUnzip the file:
tar -xvzf go-ipfs_v0.12.2_darwin-amd64.tar.gz

> x go-ipfs/install.sh
> x go-ipfs/ipfs
> x go-ipfs/LICENSE
> x go-ipfs/LICENSE-APACHE
> x go-ipfs/LICENSE-MIT
> x go-ipfs/README.md
Move into the
go-ipfsfolder and run the install script:cd go-ipfs bash install.sh > Moved ./ipfs to /usr/local/binCheck that IPFS installed:
ipfs --version

> ipfs version 0.12.0
# Linux
Download the Linux binary from
dist.ipfs.io(opens new window).wget https://dist.ipfs.io/go-ipfs/v0.12.2/go-ipfs_v0.12.2_linux-amd64.tar.gzUnzip the file:
tar -xvzf go-ipfs_v0.12.2_linux-amd64.tar.gz

> x go-ipfs/install.sh
> x go-ipfs/ipfs
> x go-ipfs/LICENSE
> x go-ipfs/LICENSE-APACHE
> x go-ipfs/LICENSE-MIT
> x go-ipfs/README.md
Move into the
go-ipfsfolder and run the install script:cd go-ipfs sudo bash install.sh > Moved ./ipfs to /usr/local/binTest that IPFS has installed correctly:
ipfs --version

> ipfs version 0.12.0
# Compile manually
Manually compiling IPFS is a fairly involved process that changes frequently. It can be handy if you'd like to build a specific branch or use the bleeding-edge version of Go-IPFS. See the ipfs/go-ipfs GitHub repository for details → (opens new window)
# Which node should you use with the command line
The command line can detect and use any node that's running, unless it's configured to use an external binary file. Here's which node to use for the local daemon or a remote client:
# Local daemon
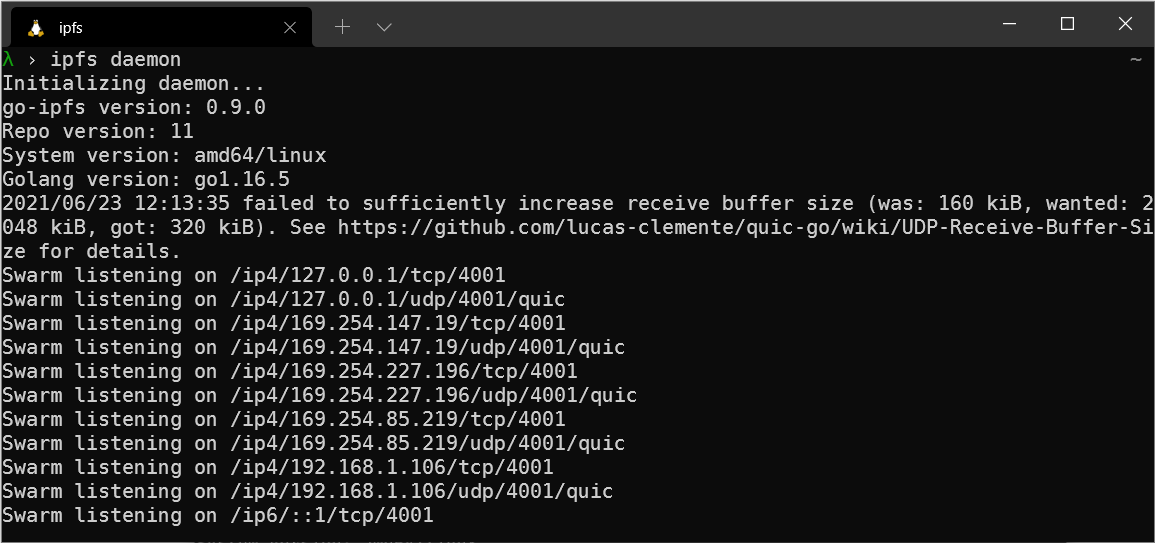
The local daemon process is automatically started in the CLI with the command ipfs daemon. It creates an $IPFS_PATH/api file with an RPC API address.
# Remote client
You can install the standalone IPFS CLI client independently and use it to talk to an IPFS Desktop node or a Brave node. Use the RPC API to talk to the ipfs daemon.
When an IPFS command is executed without parameters, the CLI client checks whether the $IPFS_PATH/api file exists and connects to the address listed there.
If an
$IPFS_PATHis in the default location (for example,~/.ipfson Linux), then it works automatically and the IPFS CLI client talks to the locally runningipfsdaemon without any additional configuration.If an
$IPFS_PATHis not in the default location, use the--api <rpc-api-addr>command-line argument. Alternatively, you can set the environment variable toIPFS_PATH.IPFS_PATHwill point to a directory with the api file with the existingipfsdaemon instance.
# Most common examples
If you are an IPFS Desktop user, you can install CLI tools and an .ipfs/api file is automatically picked up.
If you're not running IPFS Desktop, specify a custom port with ipfs --api /ip4/127.0.0.1/tcp/<port> id in the CLI.
For example, Brave RPC API runs on port 45001, so the CLI can talk to the Brave daemon using ipfs --api /ip4/127.0.0.1/tcp/45001 id. You can use mkdir -p ~/.ipfs && echo "/ip4/<ip>/tcp/<rpc-port>" > ~/.ipfs/api to avoid passing --api every time.
# Next steps
Now that you've got an IPFS node installed, you can start building applications and services on top of the network! Check out the Command-line- quicks start guide and jump straight to the Initialize the repository section.